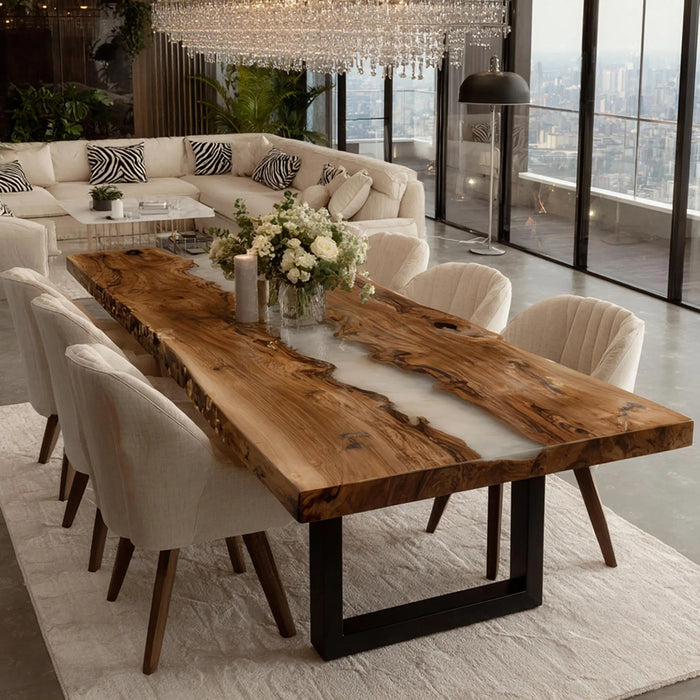


Have you ever witnessed a flawless epoxy tabletop molding only to find bubbles obscuring the surface? We'll break down exactly where bubbles originate during resin casting and precisely address them. From material selection to venting, gun technique, and timing, we'll provide step-by-step guidance. Ultimately, you'll learn how to achieve consistent, professional, bubble-free results. Maybe you can also make a beautiful epoxy resin table yourself, which is not inferior to the brand.

Bubbles in Epoxy Tables: Simple Prevention & Fixes
Bubbles form for many reasons: cold resin, damp wood, fast-mixing, or thick pours. Here's how to avoid them:
Pre-Pour Tips:
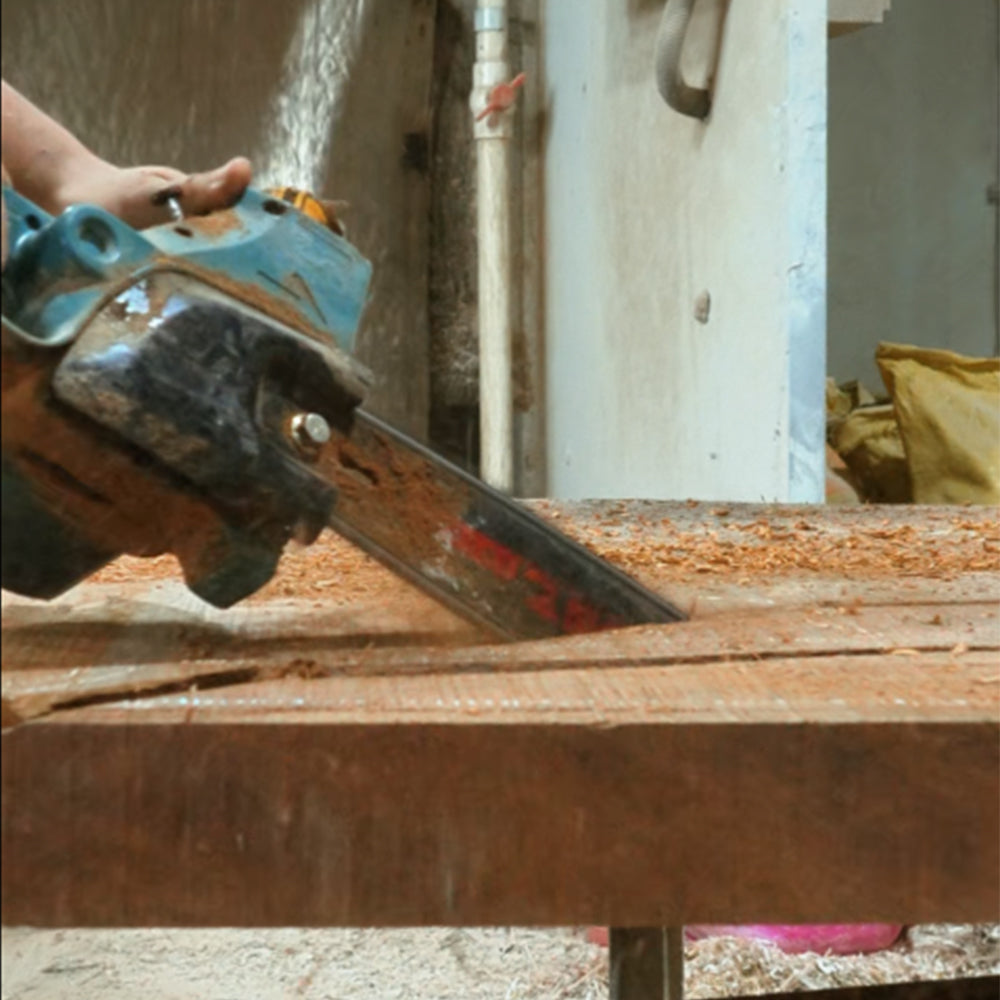
Use dry or sealed wood
Warm resin & workspace to similar temperatures
Mix slowly with a wide container
Let resin sit 2-3 minutes before pouring
During Pour:
Pour in thin layers (¼"–½") for detailed tables
Gently torch surface 6–8 inches above to pop bubbles
Use a toothpick to release trapped air along edges
Cover while curing to keep dust out
For Difficult Projects:
Use a pressure/vacuum chamber before pouring
Time final coats when previous layer is tacky
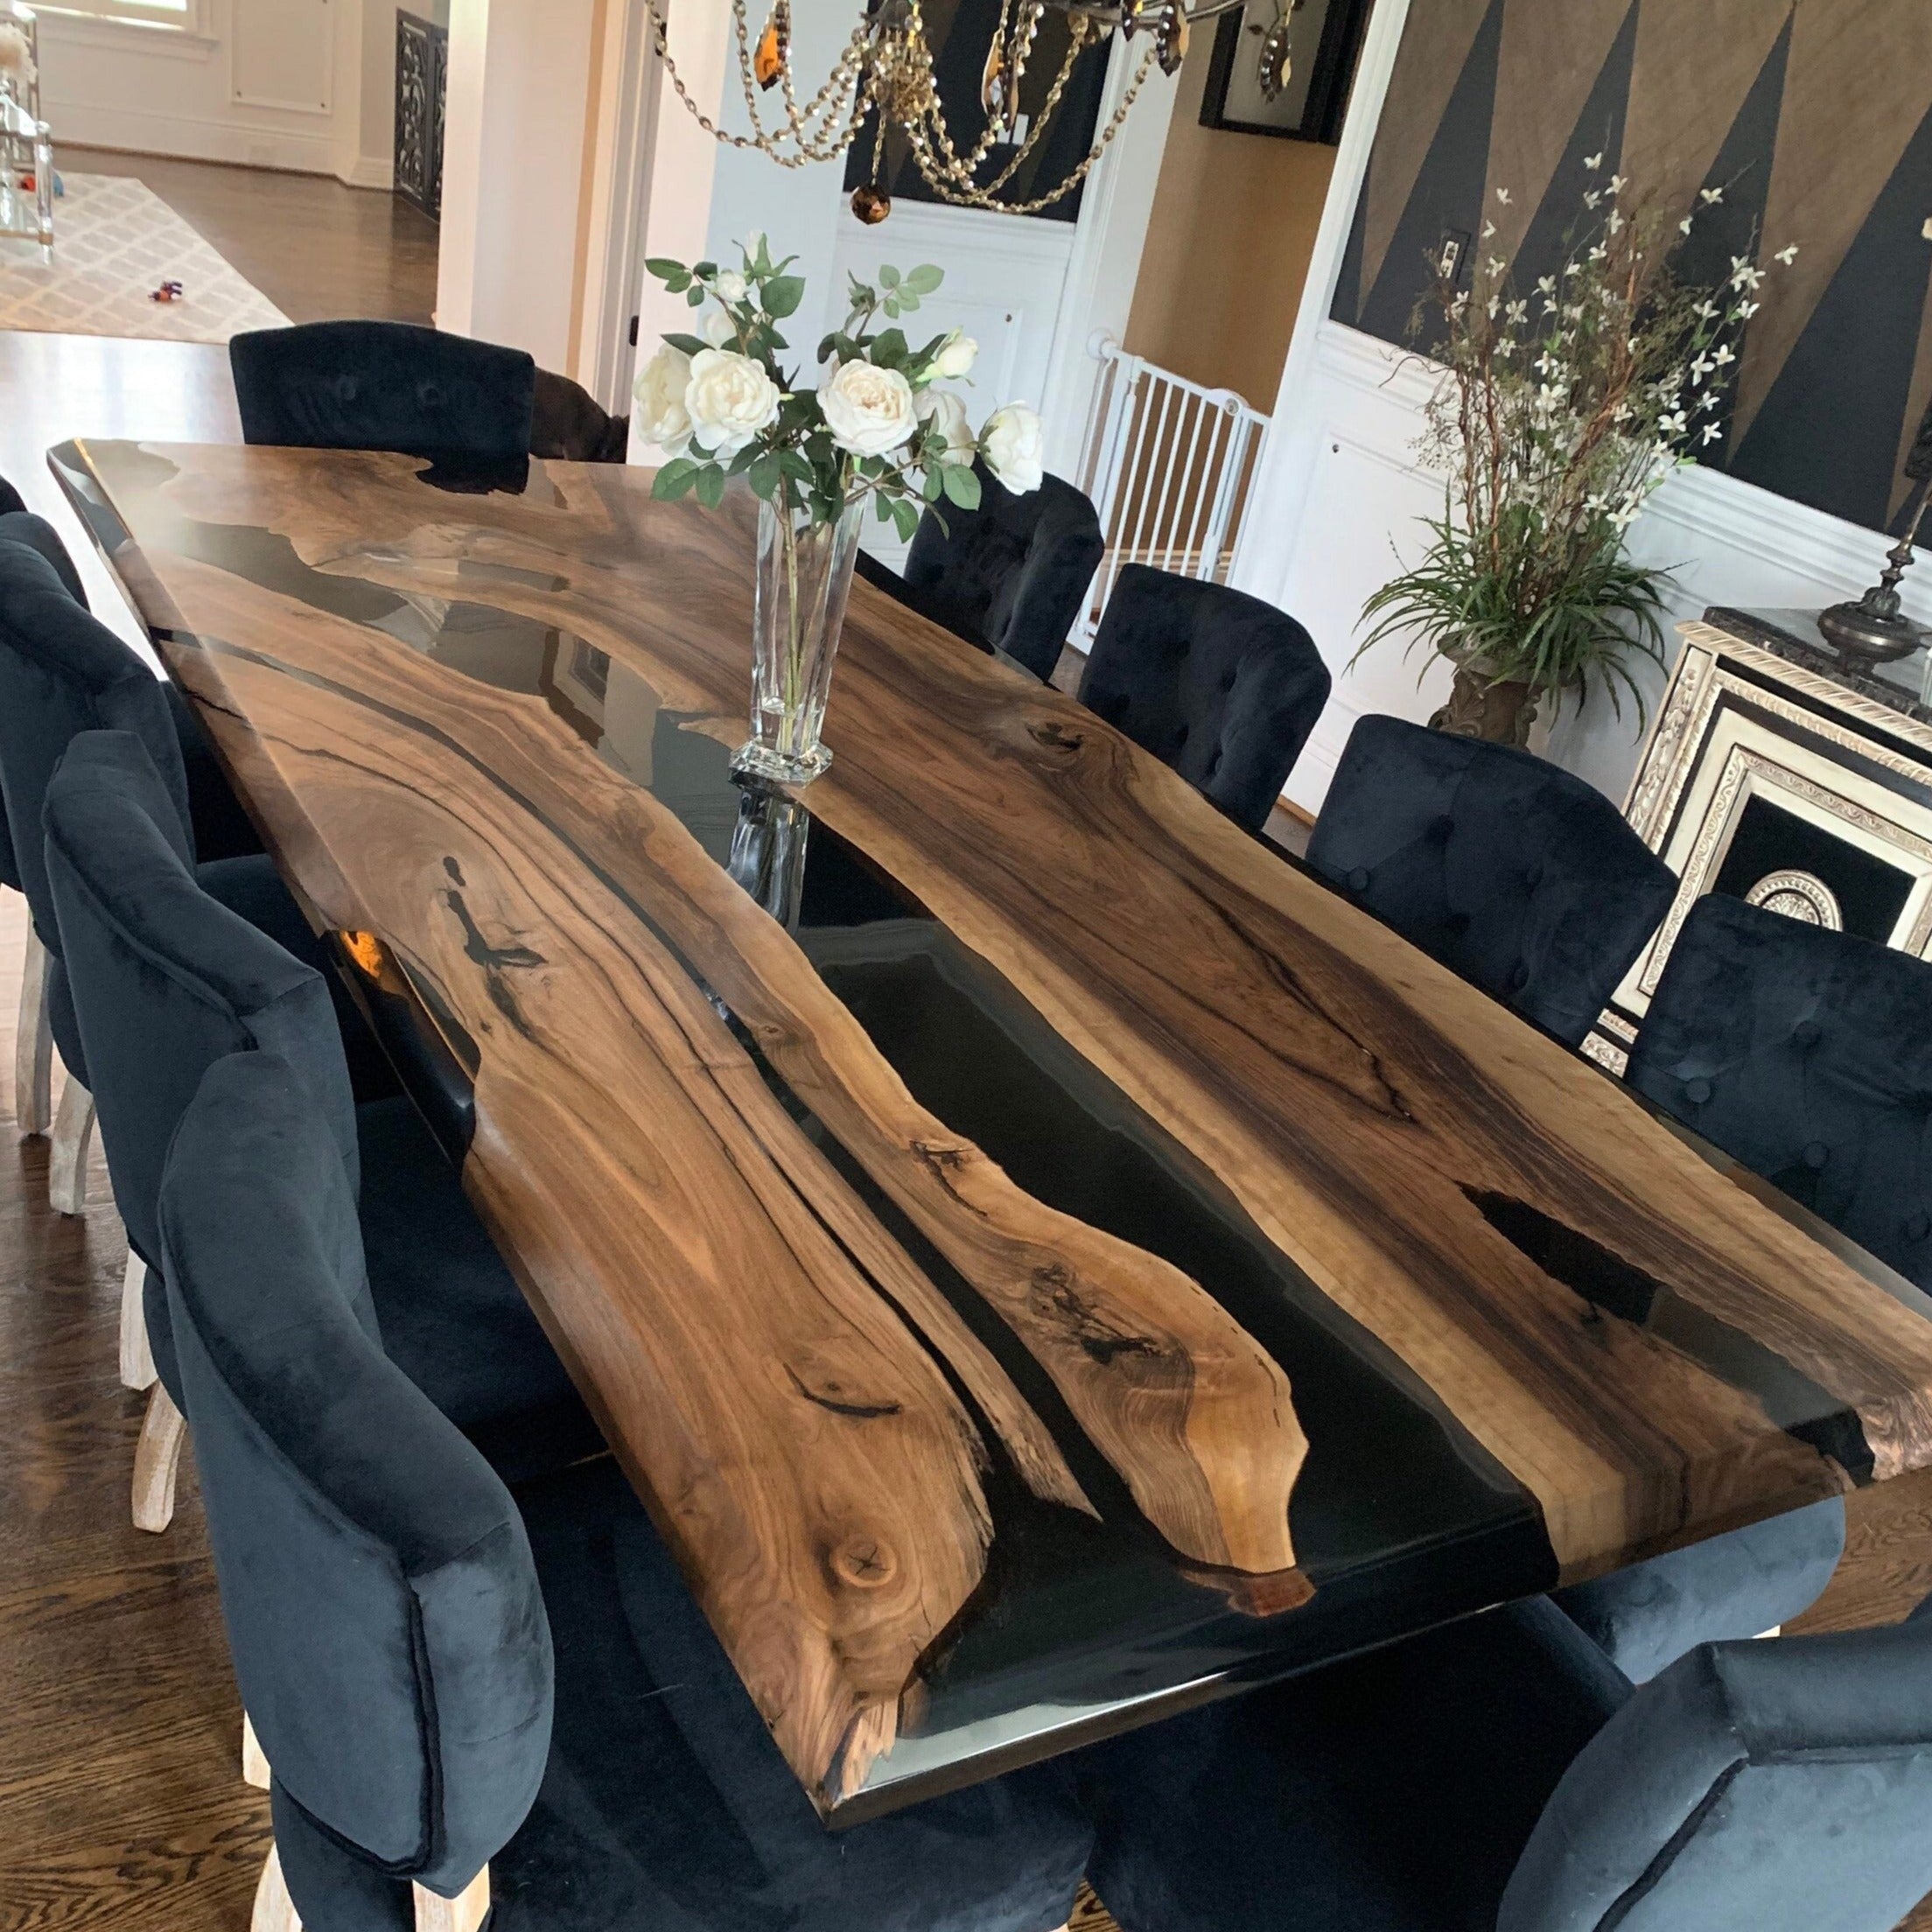
A little preparation creates a crystal-clear finish!

Now you know where bubbles hide and how to stop them. With the right preparation and technique, that crystal-clear, professional finish is absolutely achievable. Go ahead—create your own stunning epoxy table that accompanies you through a wonderful life. If you need help from KAZANA, please feel free to contact us.