

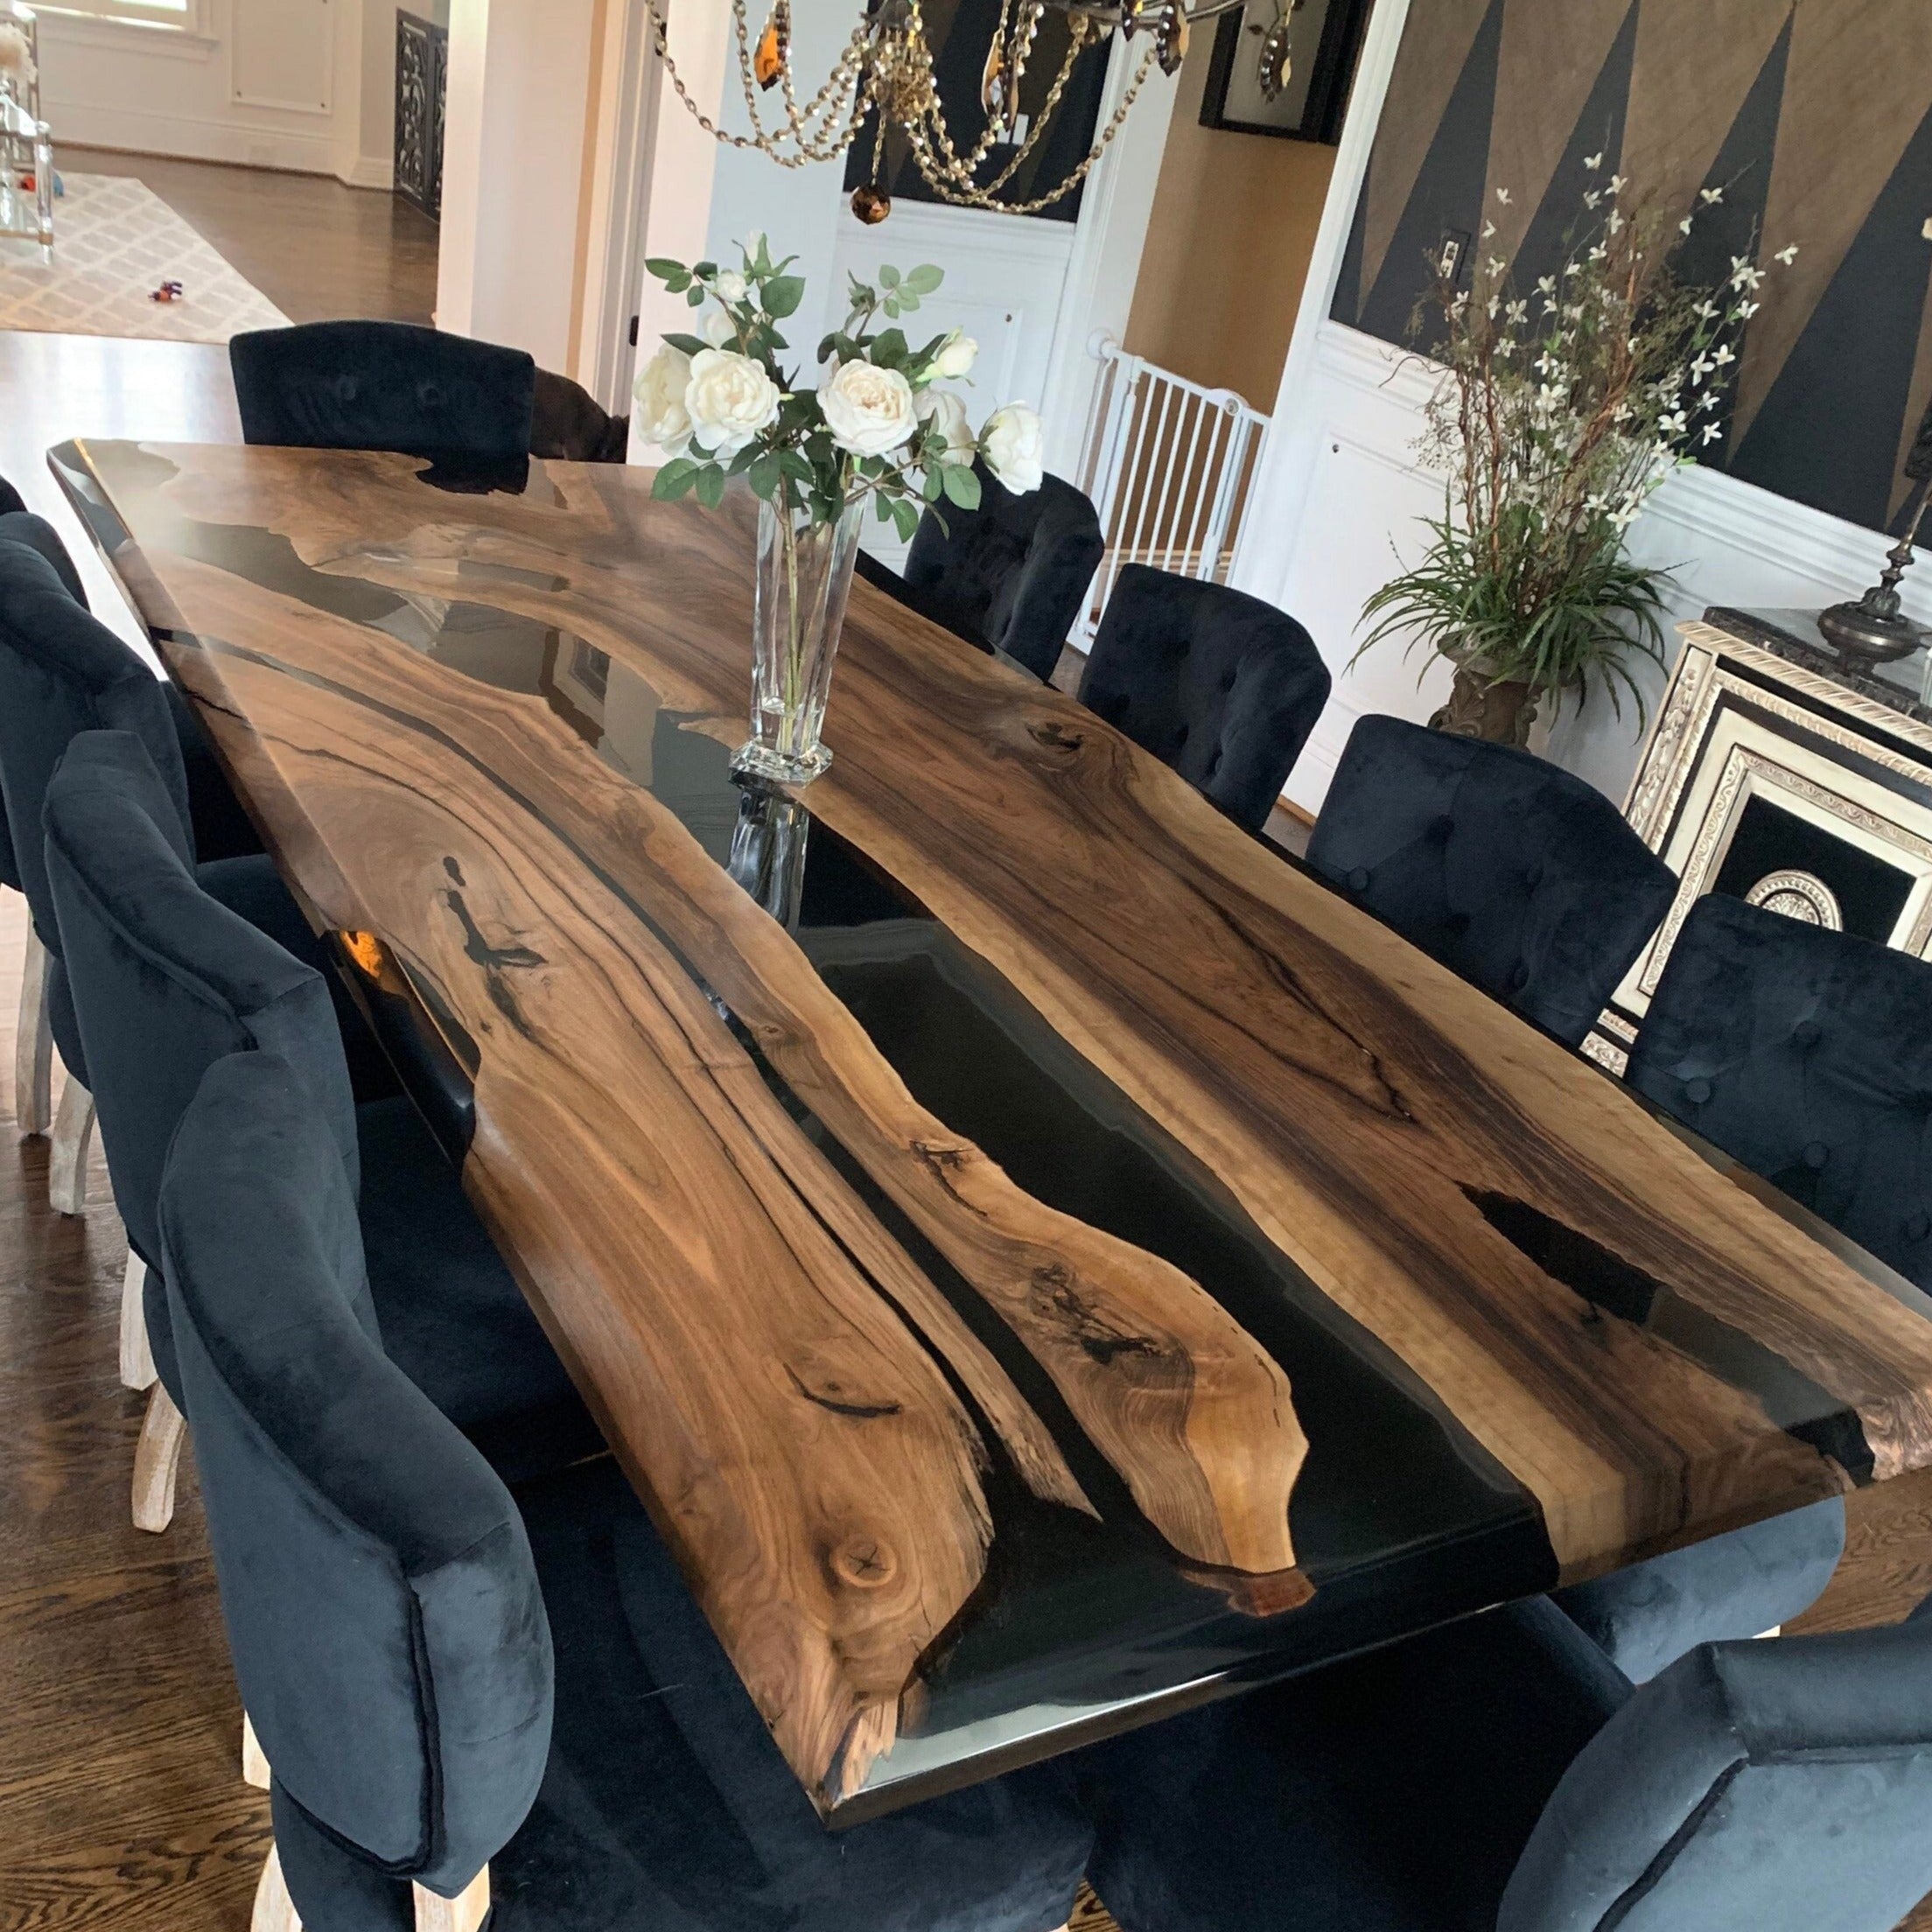
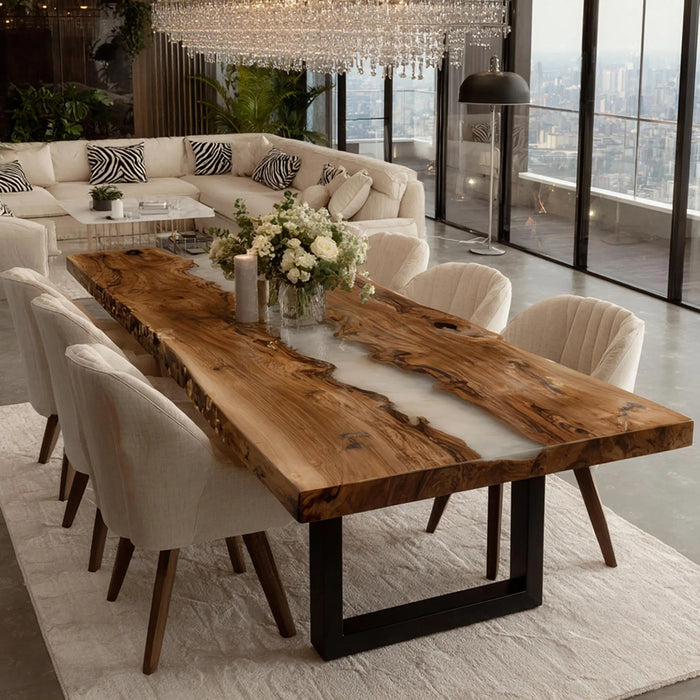
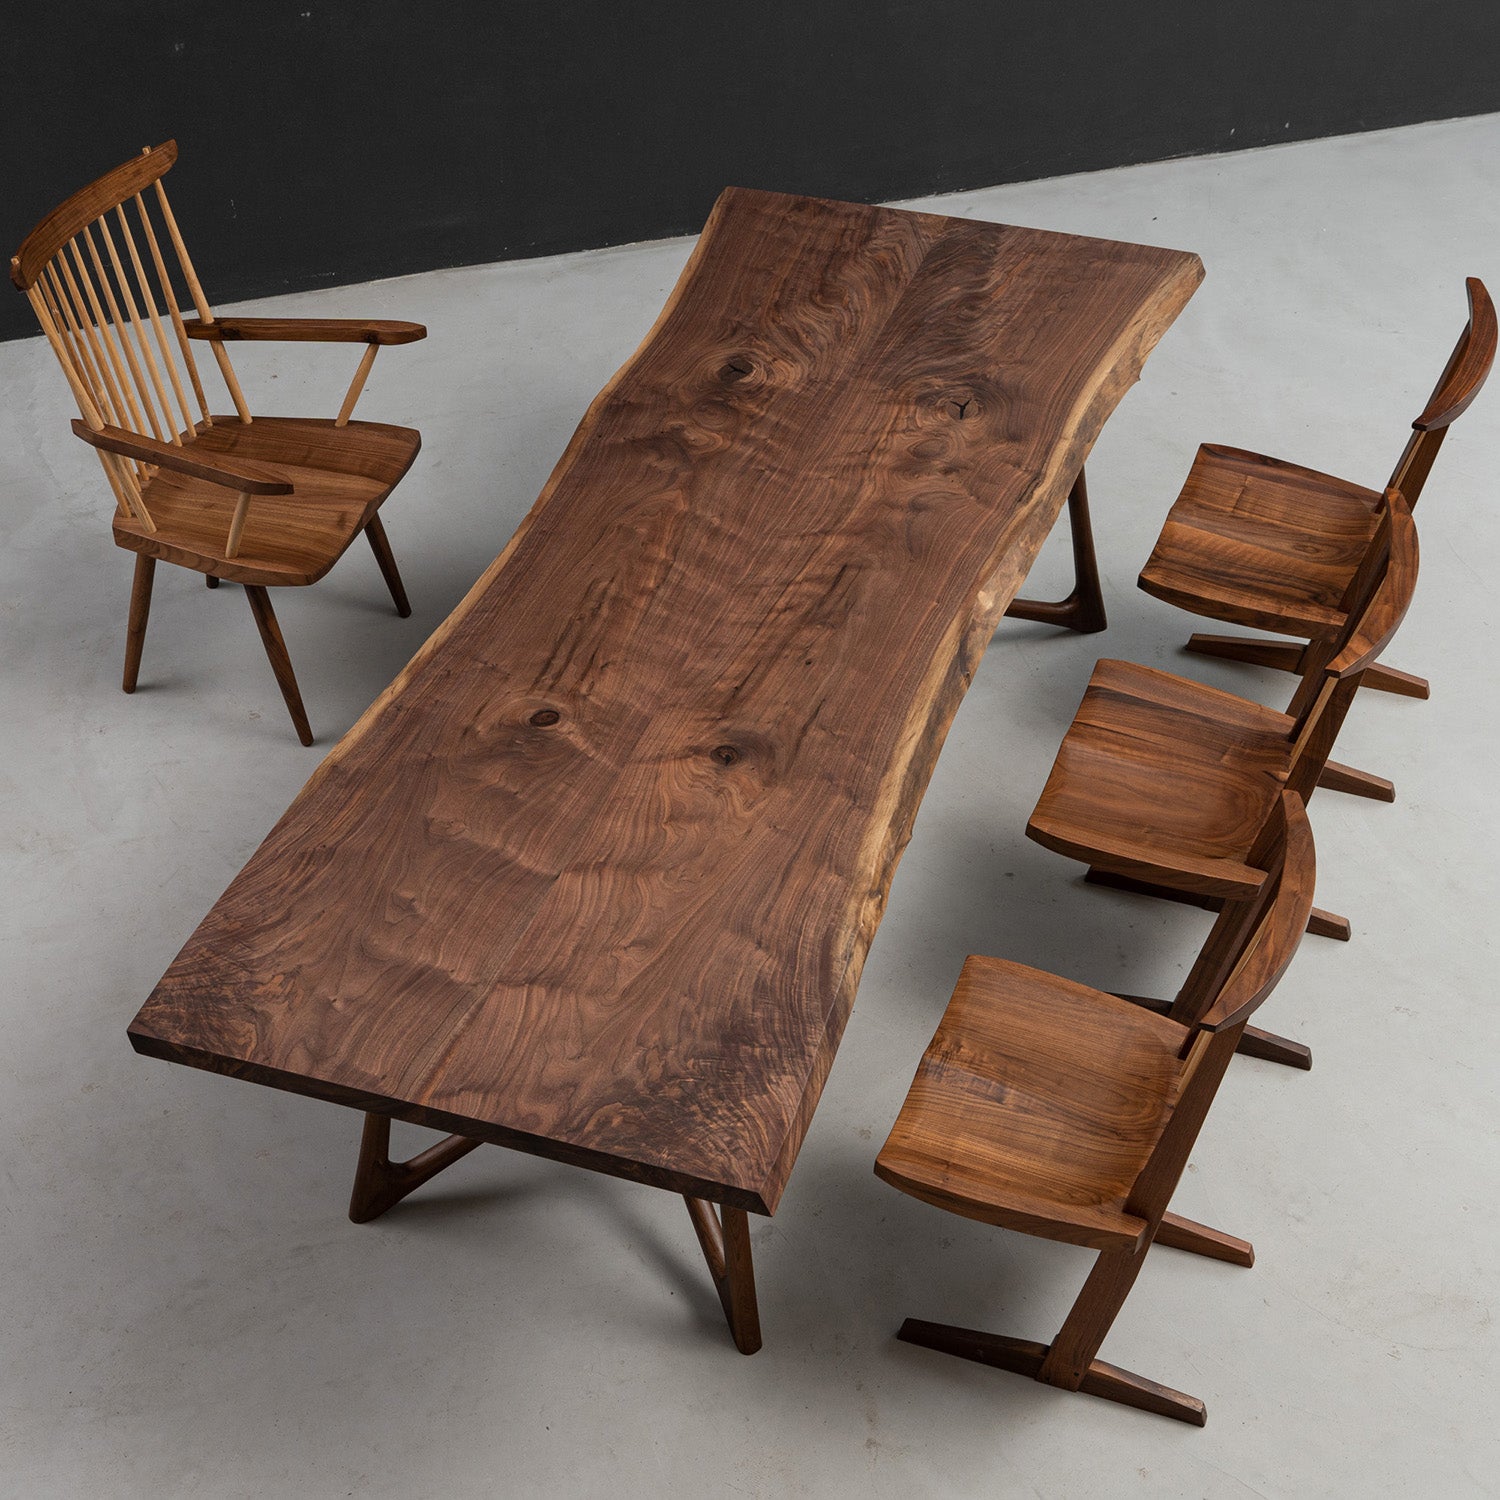
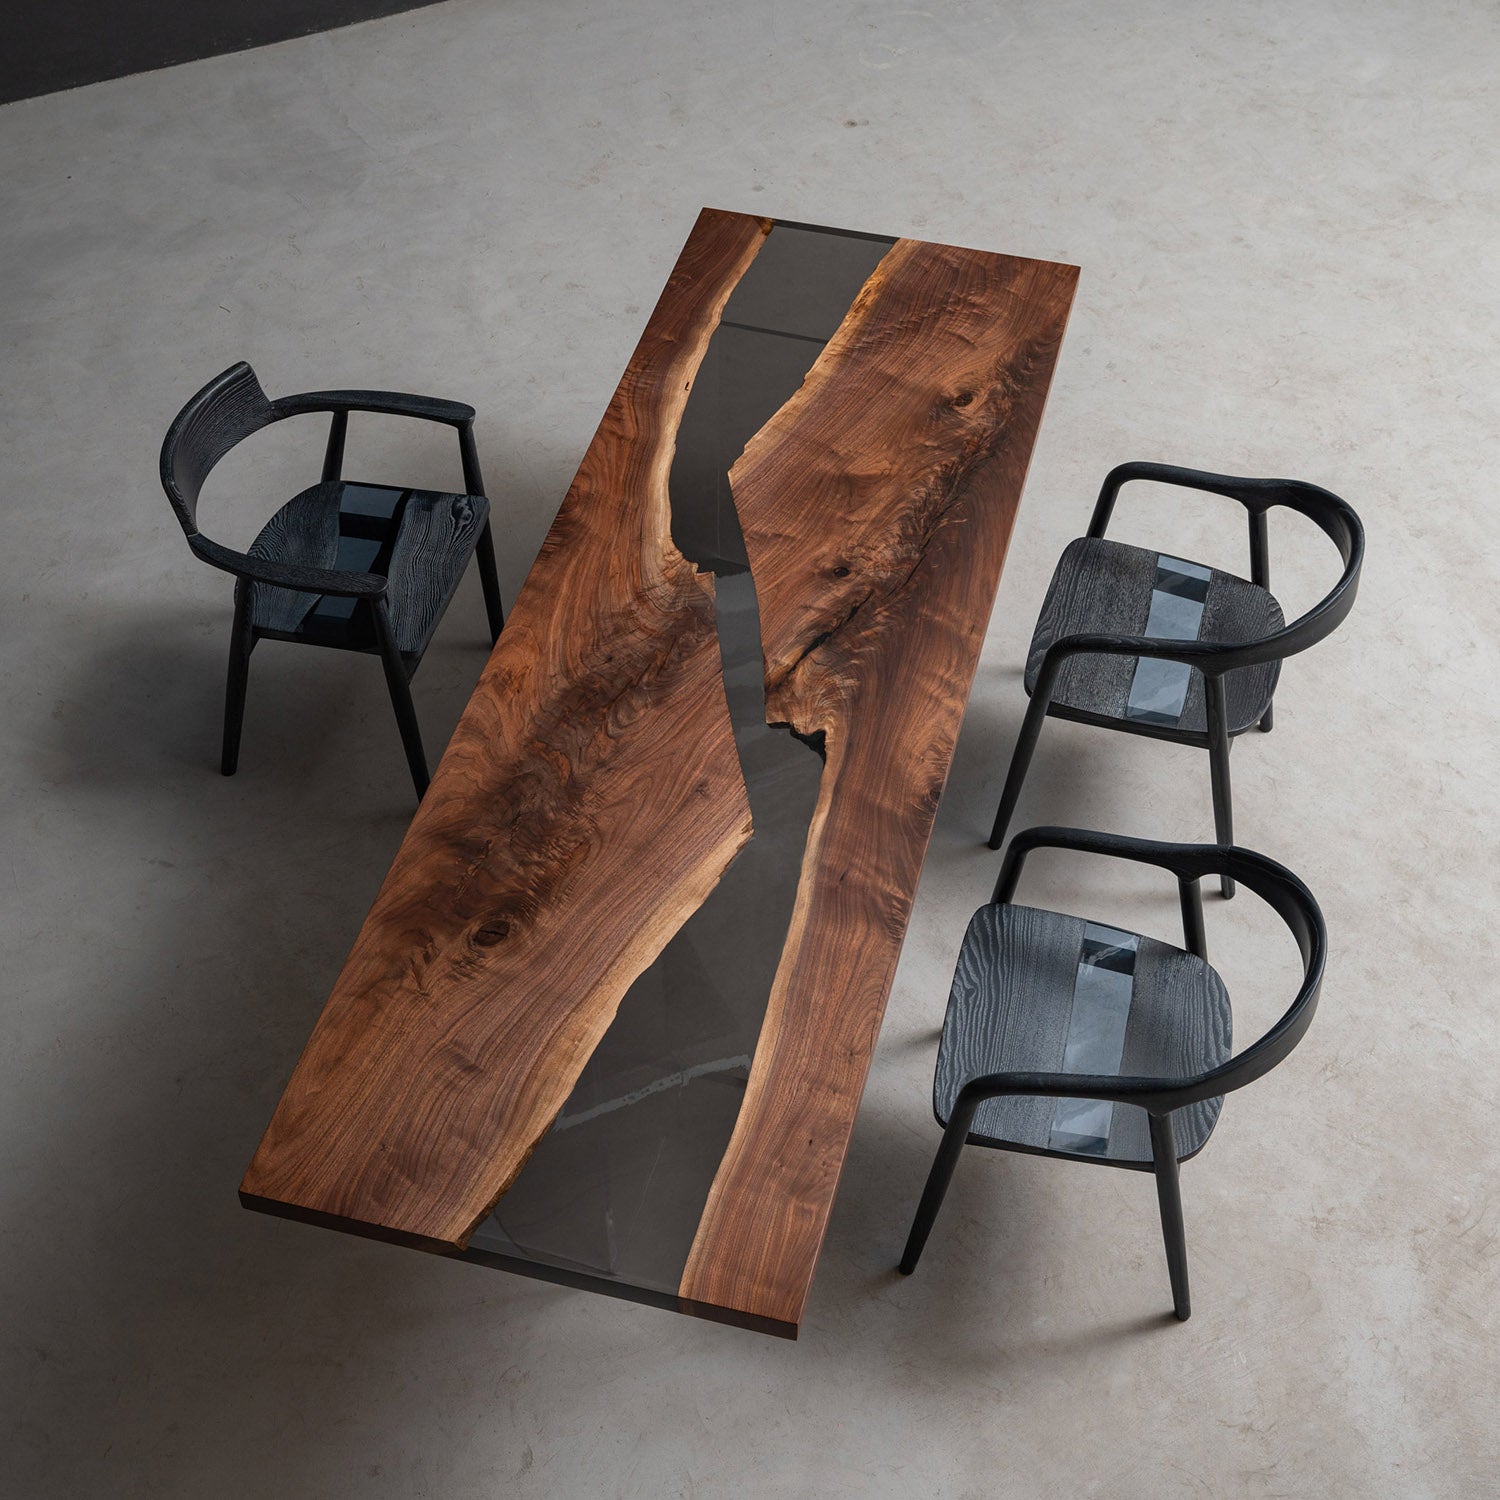
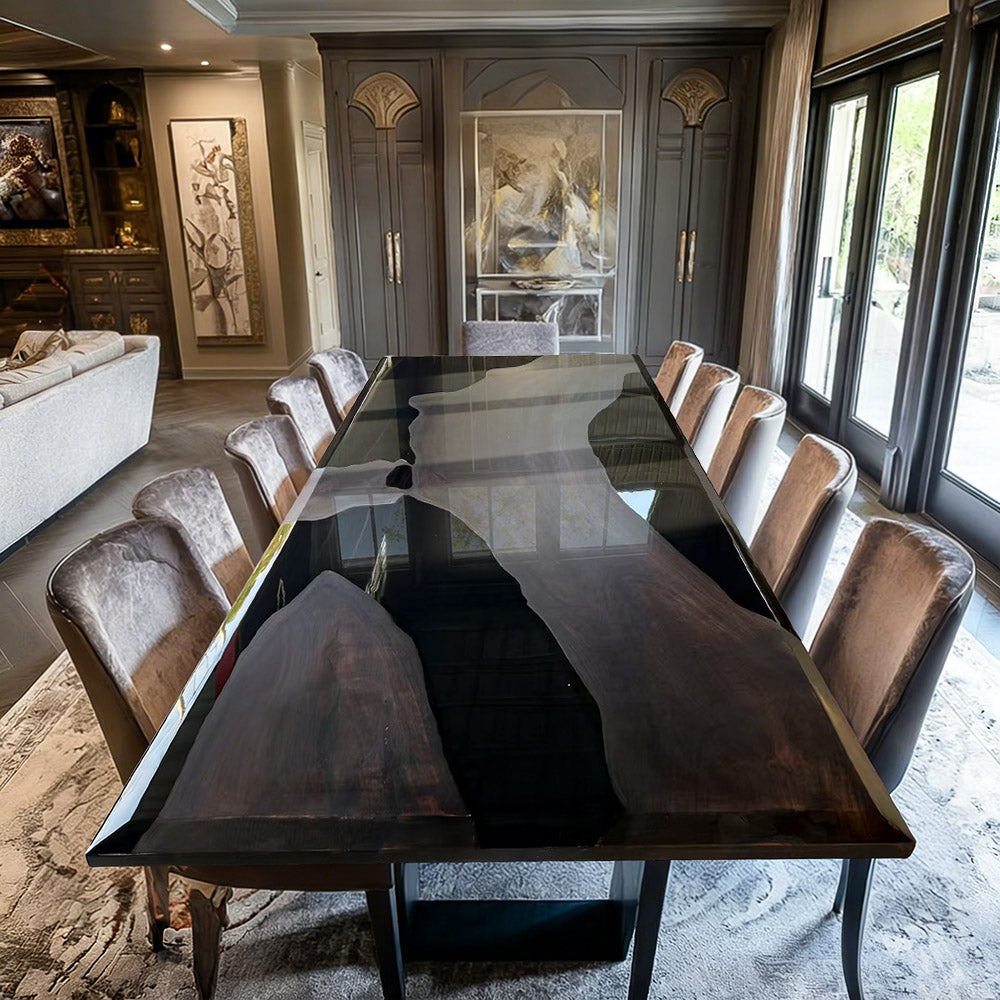

A black edge adds contrast and depth to epoxy tables—but the wrong method for your slab risks uneven results, waste, or structural problems.
In this guide, we’ll cover the two most effective ways to achieve a black edge on a wood epoxy table:
- Charring / carbonizing the wood cut face directly
- Pouring black epoxy resin along the edge
Let’s break down both methods.
Why Add a Black Edge to an Epoxy Table?
A black edge creates a striking visual boundary. It can:
- Frame the wood grain and resin river like a picture frame
- Add a modern, moody, or industrial aesthetic
- Create a bold contrast against lighter woods like poplar or ash
- Give the table a more finished, intentional look
Whether you choose a charred texture or a smooth resin edge, the result is a table that commands attention.

Method 1: Charring / Carbonizing the Wood Cut Face
Controlled burning darkens the wood’s cut face or edge. Torch, brush, and sand for a deep charcoal-black texture while the grain remains visible.
Pros
- Natural, organic texture
- No extra resin cost
- Grain remains visible under the black
- Creates a rustic, tactile edge
Cons
- Requires careful heat control
- Can be messy and smoky
- Not ideal for very thin or delicate edges
- May need re-sealing over time
For this technique to achieve the desired look, the cut edges of the wood need to be wide enough for the effect to show clearly in the finished piece.

Method 2: Charring / Carbonizing the Wood Cut Face
Build a temporary dam or tape border along the edge, pour black pigmented epoxy into the channel, and let it cure into a smooth, hard, uniform black edge—glossy or matte.
Pros
- Smooth, uniform black edge
- Can be glossy or matte
- Works on thin or irregular edges
- Adds durability and seals the wood
Cons
- Extra resin cost
- Requires careful dam building to avoid leaks
- Longer curing time
- Potential for bubbles if not degassed properly
This approach works well when you want to create a nice contrast while keeping the exposed wood area to a minimum.

Large cut face? Char it. Small or irregular edge? Pour black resin.
With the right technique and a little practice, you can create a custom epoxy table with a black edge that looks intentional, professional, and completely one of a kind.
Ready to start your black edge project? Gather your tools, test on scrap, and let the transformation begin.