

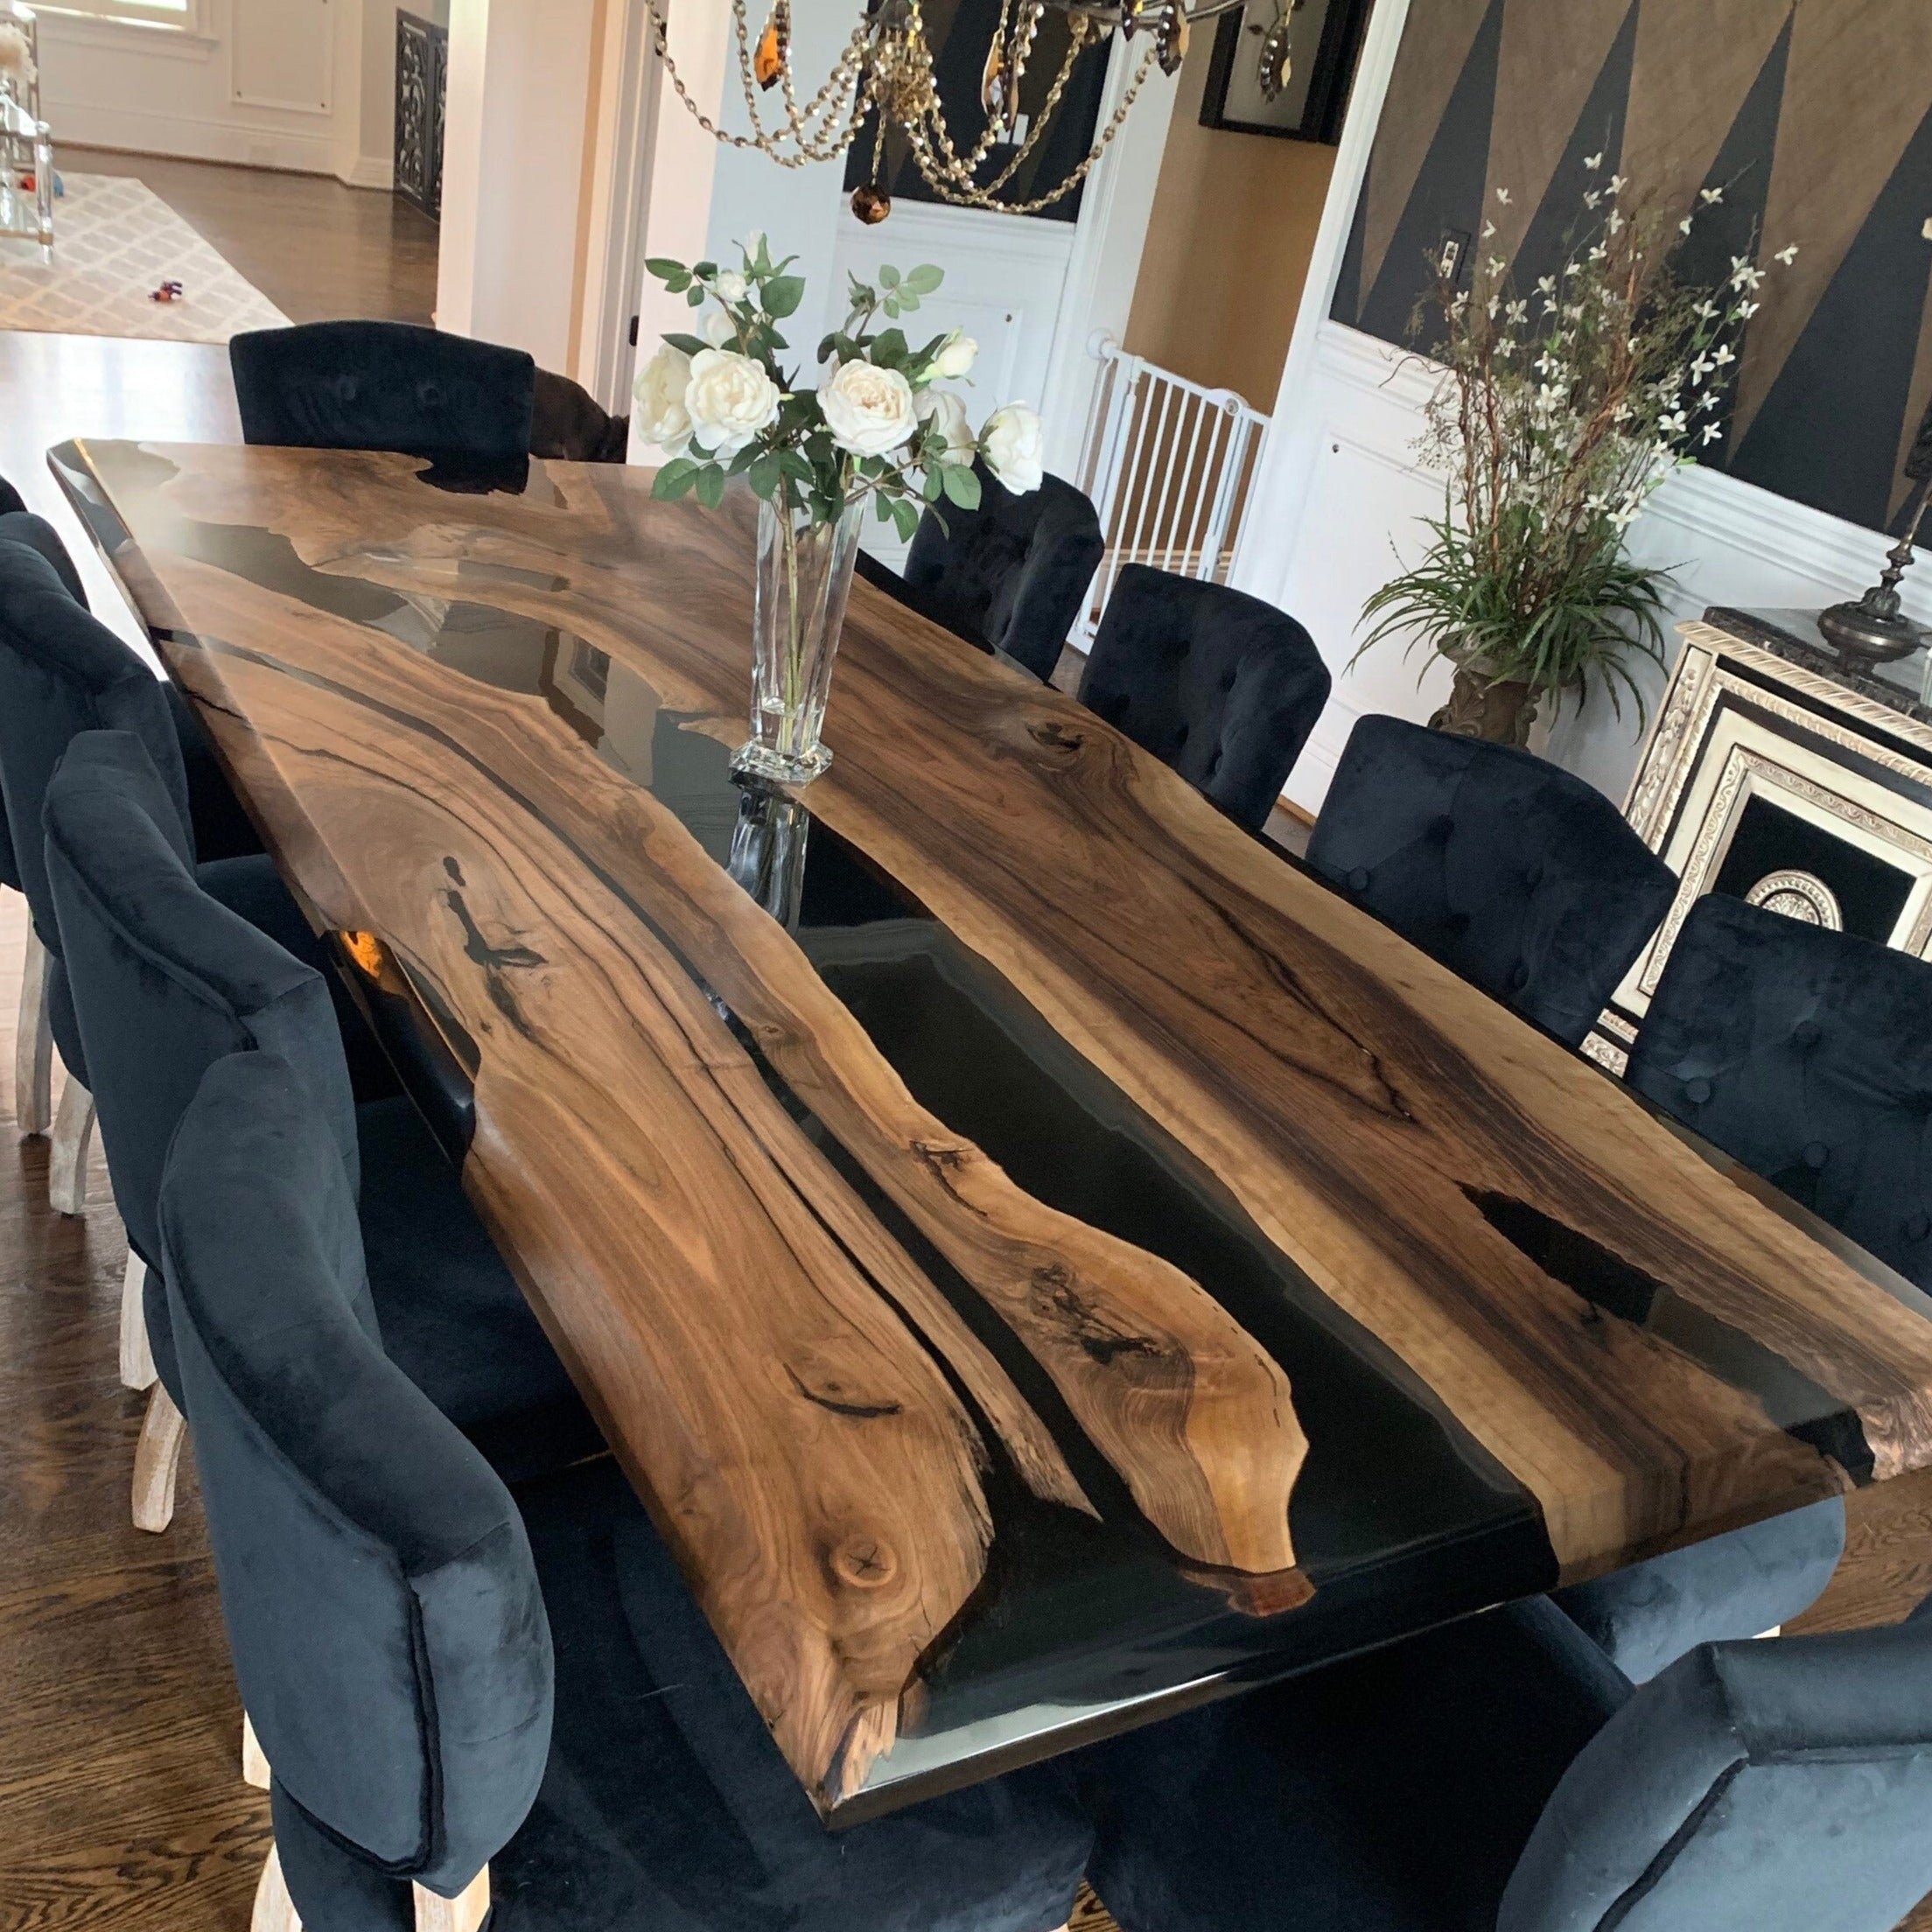





Even a well-made epoxy table can suffer minor damage—edge chips, scratches, or small cracks in wood or resin. Most are fixable.
This guide covers common issues, repair methods, and prevention tips, whether you DIY or seek professional help.
Minor Imperfections or Scratches on the Resin or Wood Surface


Step-by-step operating instructions:
Don't worry—these are easy to fix! You just need some polishing wax and a small polishing machine. Here's how:
Step 1: Apply the polishing wax directly to the scratched area (no need to wait for it to dry).
Step 2: Gently polish the area using the small polishing machine.
You can repeat these two steps as many times as needed until your table is fully restored to a flawless condition.
There are no special requirements for the polishing wax or small polisher—any standard ones will work fine.
Partial Cracking of the Wood:

A repair kit (including clear resin and sandpapers) and a can of spray paint needed.
Here are the steps for repairing the cracks:
Step 1: Pour clear resin into the crack, making sure it's completely filled.
Step 2: Let the resin cure fully.
Step 3: Once cured, sand the area using sandpaper—start with a coarser grit and gradually move to finer grits—until the surface is smooth and level with the surrounding area. If you notice any small gaps while sanding, just add a bit more resin and let it cure again before continuing.
Step 4: When the area is smooth, spray it with paint so the repaired section blends seamlessly with the rest of the surface.
Partial Cracking of the Resin:

Here are the specific solutions:
We will send you a repair kit (containing transparent resin and sandpaper) and a can of spray paint.
The specific steps are as follows:
1. Fill the cracked area with the transparent resin.
2. Wait for the transparent resin to dry.
3. Use sandpaper, starting from coarse to fine grit, to repeatedly sand the hardened area until it is smooth.
4. Finally, spray the treated area with the spray paint.
Tip: You can use a small polishing machine instead of sandpaper to make the process easier and save time and effort.
Now you know how to handle chips, scratches, and cracks on your wood epoxy table—from minor touch-ups to full crack repairs.
Keep this guide handy, follow the preventive tips, and with proper care, your custom solid wood epoxy table will stay stunning for decades.