



To approve a custom table drawing with confidence, read it in a fixed order: confirm the revision and units, verify the finished size and shape, study the slab orientation, trace every resin area, check edges and corners, locate the base and any cutouts, and compare the drawing with your written order. Approve only when every visible decision agrees with what you want.
A CAD drawing is a decision map, not a photorealistic preview. It should make the planned geometry and placement understandable while the accompanying slab photos show grain, knots, color shifts, live edges, and other natural character that linework cannot fully reproduce.
Review the drawing, slab photos, order summary, and reference images together. Keep your questions in one consolidated reply, identify the exact area you mean, and wait for a revised drawing whenever a requested change affects the layout.
Before you review: place your order summary beside the drawing
Kazana’s Design Your Own page collects choices such as table shape, wood type, size, edge, epoxy location, slab count, surface finish, epoxy color and transparency, and table base. Open the Design Your Own custom epoxy dining table page or your saved order details and check those choices one by one against the drawing. If a choice is not visible in the linework, look for a written note or ask the design team to confirm it in writing.

Reference imagery helps establish the desired look; the drawing is where the planned layout is confirmed.
1. Check the drawing identity before the design
Start with the sheet title, project or order reference, revision mark, date, and units. Make sure you are reviewing the newest attachment rather than an earlier version saved under a similar name. If the revision is unclear, ask which file replaces the others before commenting. This simple check prevents good feedback from being applied to an outdated layout.
2. Confirm the finished footprint and orientation
Read the stated length and width, then confirm the top shape: rectangle, oval, round, square, waterfall, or another agreed form. Check which end is the top of the view and whether the drawing shows the table from above. Review thickness, edge style, corner treatment, and any asymmetric feature separately. Do not estimate a dimension by measuring pixels on the screen; use the written dimension and ask for clarification when a number is missing.
3. Read the slab photo as material evidence
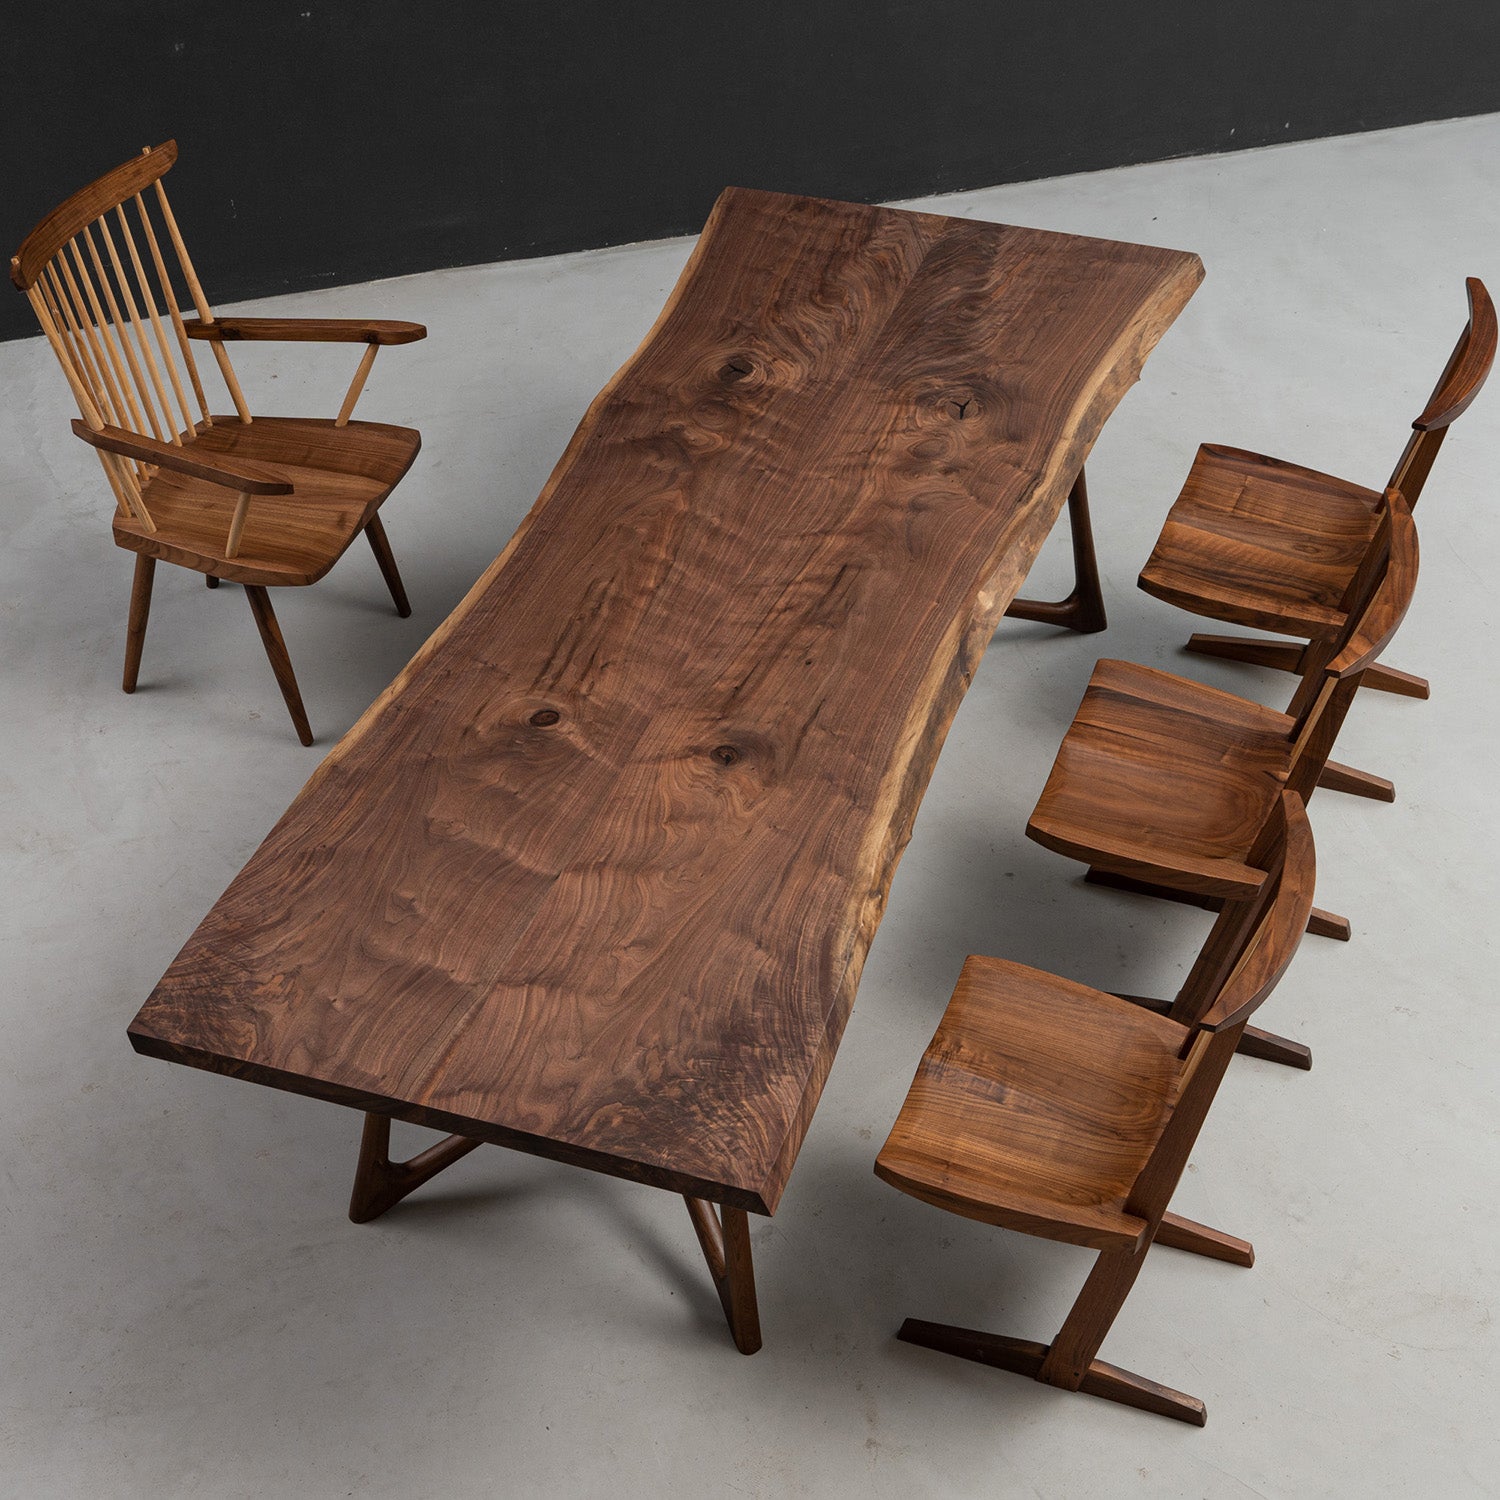
A slab photo shows the actual visual information that matters for approval: grain movement, lighter and darker zones, knots, voids, live-edge curves, and the overall proportion of each piece. First identify how many pieces are shown. Then decide which features you want to face the room, which should remain prominent, and whether the grain direction supports the visual flow you requested.

The slab photograph records natural character that a simplified CAD outline cannot fully show.
4. Read the CAD layout as a placement map
Now match each slab in the photo to its outline in the drawing. Follow the outside perimeter first, then the interior live edges. Look for rotations, mirrored positions, end-to-end direction, and the amount of open space between pieces. A layout can use the right slabs and still feel wrong if a strong grain feature points the opposite way or if the visual weight is concentrated on one side.

Compare the drawing with the slab photo rather than reviewing either asset alone.
5. Compare the slab photo and drawing together
Kazana’s documented client case pairs wood matching with corresponding drawings and shows multiple revisions before a signed approval. A separate Kazana project page also pairs first and second wood selections with corresponding CAD drawings. These examples show why the most useful review happens side by side: the photo answers “what does the wood look like?” while the drawing answers “where will each piece sit?” See the client drawing approval case study and the CAD-to-finished-table comparison for more process context.
6. Trace every resin area from end to end
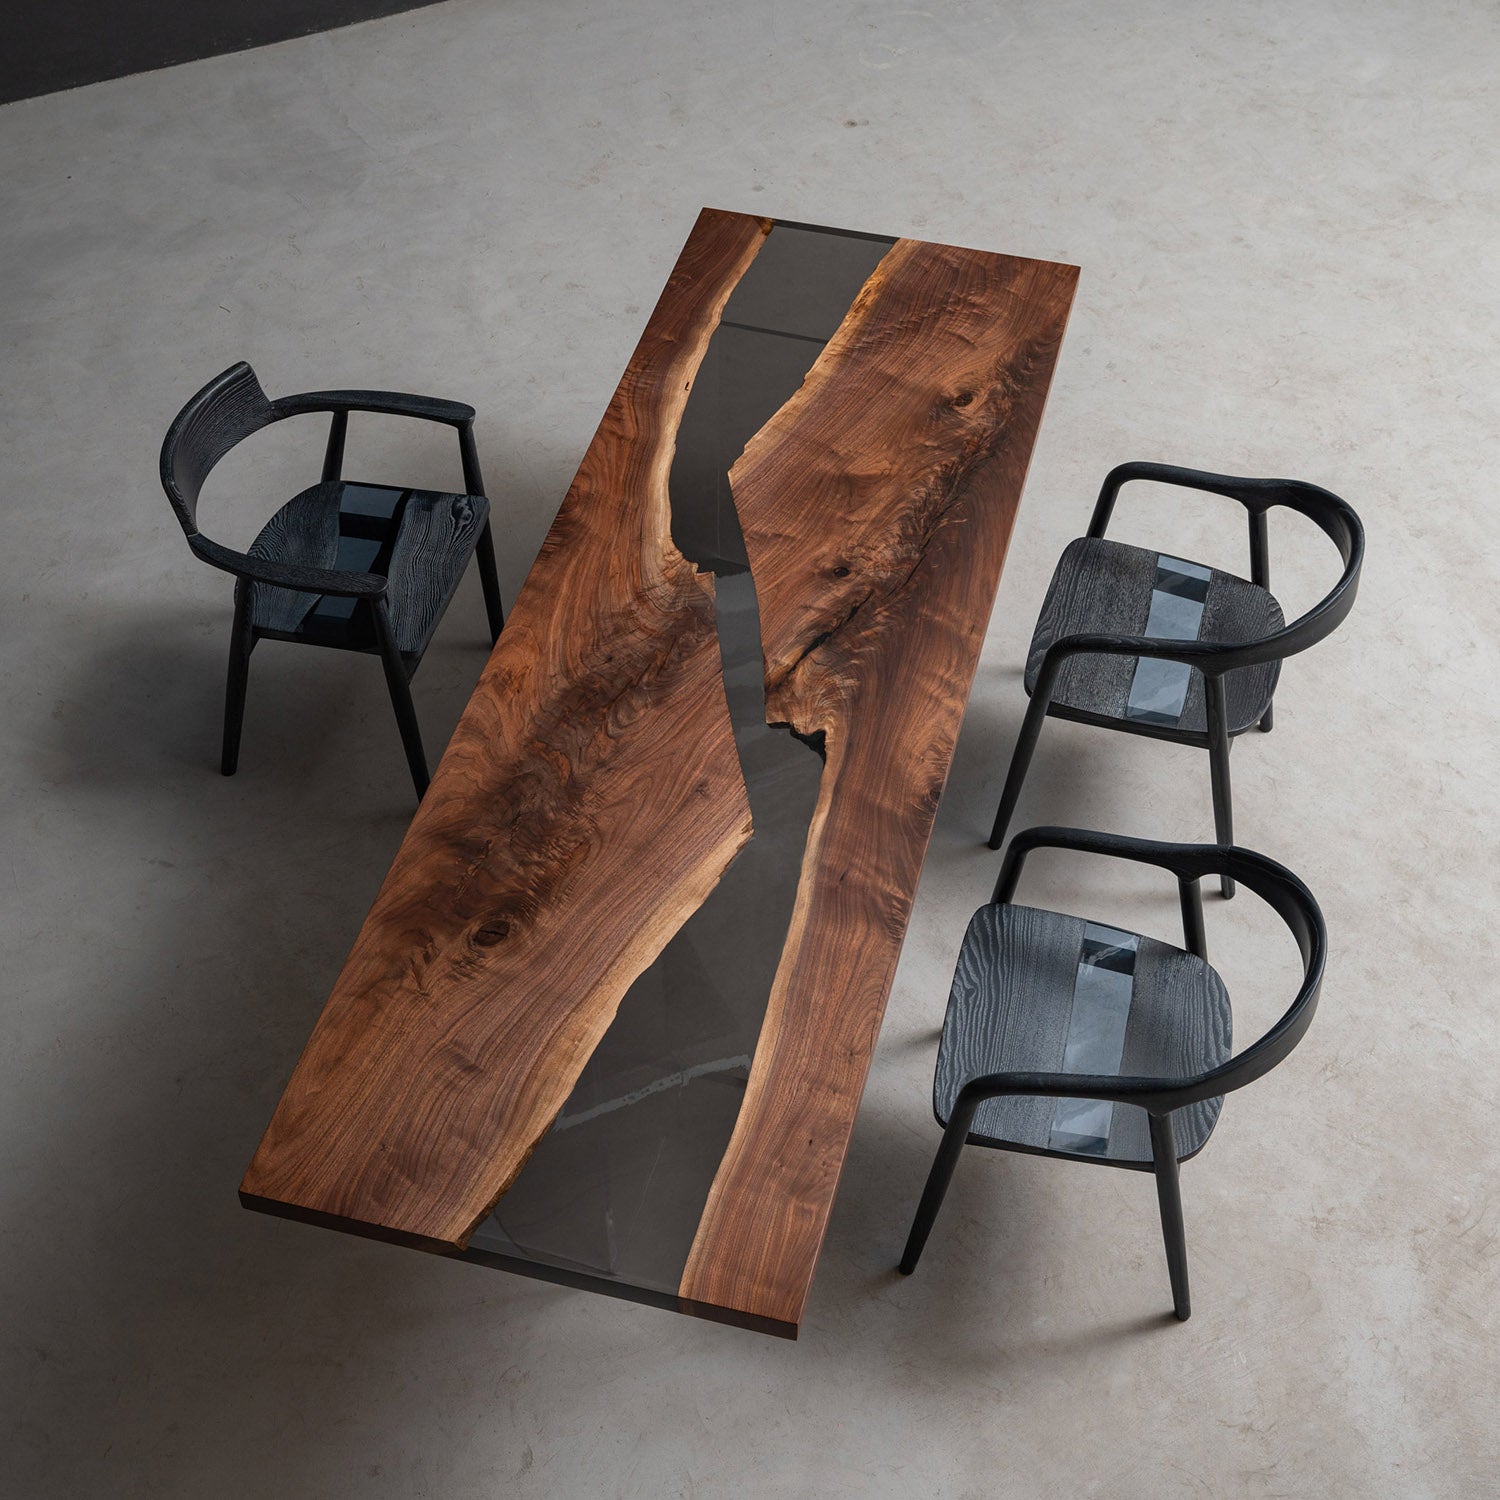
Identify the resin boundaries and check whether the placement matches your chosen concept: a central river, irregular distribution, multiple resin channels, perimeter fill, or another specified arrangement. Look at the width and balance of the open zones, especially near the ends. Then cross-check color, transparency, and finish against your written selections because a black-and-white drawing may not communicate those appearance choices.
7. Inspect edges, corners, and feature locations
Confirm which boundaries are live edges and which are straight or shaped edges. Check the corner style and the direction of any bevel or waterfall element shown. If the table includes a power outlet, cable hole, or other cutout, verify its position relative to the tabletop orientation and seating plan. Ask for a labeled dimension when placement matters; “near the center” can mean different things to different reviewers.
8. Check the base position and usable space
Find the table base or leg outline and confirm the model and orientation match your order. Consider where people will sit, where knees and chairs need room, and how the base aligns with the center of the top. If the base is not shown on the drawing, ask whether it is covered on another sheet. Do not assume that an attractive top view automatically resolves the support position.
9. Turn preferences into specific revision notes
Useful feedback names the object, location, and requested action. For example: “Rotate the center slab so the grain runs toward the opposite end,” “Move the right slab inward to narrow that resin channel,” or “Please confirm the finished width at the widest live-edge point.” Avoid comments such as “make it more balanced” without marking the area; add an annotated screenshot when words alone could be misread.

Specific feedback can lead to a new slab arrangement that is easier to evaluate.
10. Recheck the entire revised drawing
When a new version arrives, review it from the beginning instead of checking only the requested change. Confirm the revision, dimensions, slab identities, resin boundaries, edges, cutouts, and base again. One layout adjustment can change spacing elsewhere, so the whole sheet should still agree with the order and your latest written instructions.

The revised drawing should be read as a complete approval document, not only as a response to one note.
11. Separate appearance decisions from natural variation
You can approve the selected slabs, their orientation, the resin layout, dimensions, and other documented choices. Natural wood will still display organic grain and edge character, and a finished surface will not look identical to simplified CAD linework. Use the slab photos to approve the material character and the drawing to approve the planned arrangement. If a particular knot, curve, or color area is essential, identify it explicitly before approval.
Final approval checklist
Before signing off, confirm that you have the latest revision; the units and finished dimensions are clear; the top shape and orientation are correct; the slab count, identities, grain direction, and live edges match the photos; resin placement matches the brief; edges, corners, base, and cutouts are correct; written color and finish choices match the order; and every open question has a written answer.
What approval means in the Kazana process
Kazana’s Order Procedures page places CAD drawing confirmation after checkout. In the documented client case, Kazana says the wood is not cut until the drawing is approved. That makes the approval stage the right moment to slow down and resolve ambiguity. Review the current Kazana Order Procedures, and do not approve a file while a dimension, layout choice, or written specification still needs clarification.
Final result: a shared visual instruction
A carefully reviewed drawing gives the customer and maker the same reference for the planned table. It turns preferences into visible decisions, keeps revision feedback traceable, and makes the final approval meaningful without pretending that natural wood is a computer-rendered material.

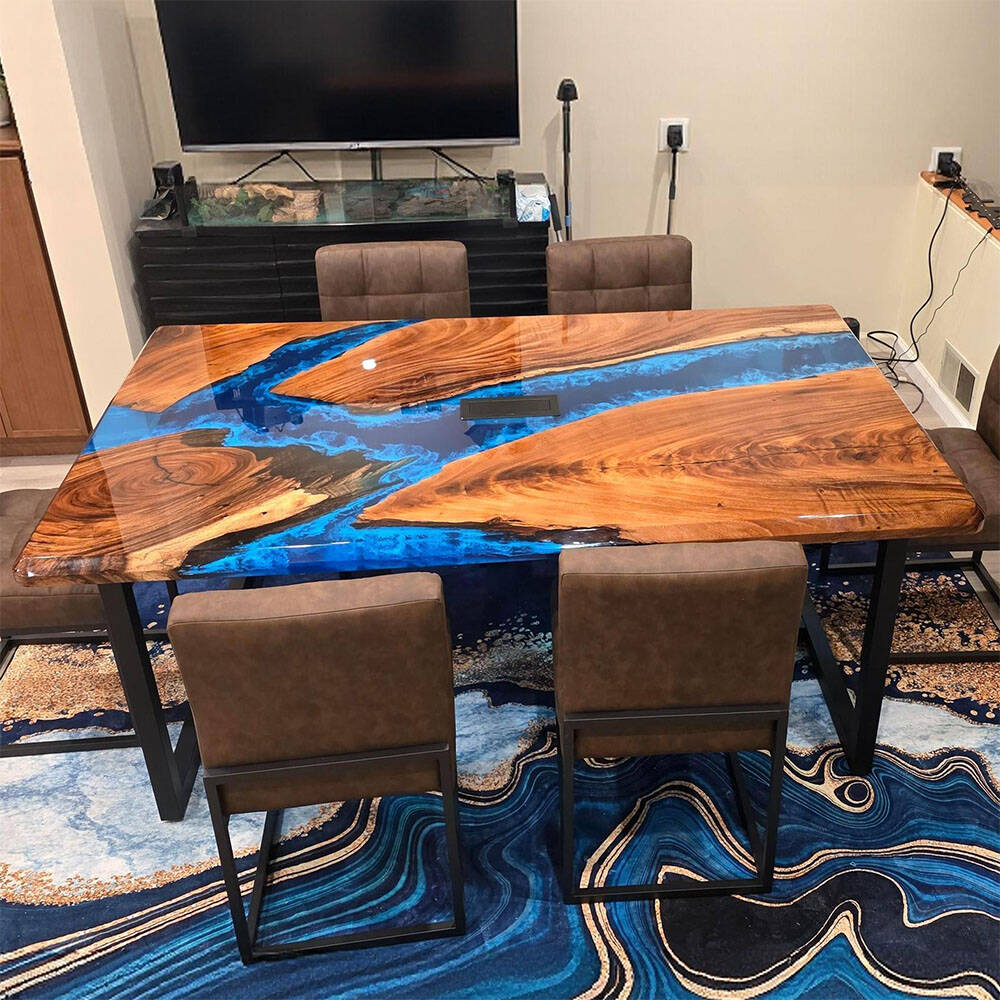
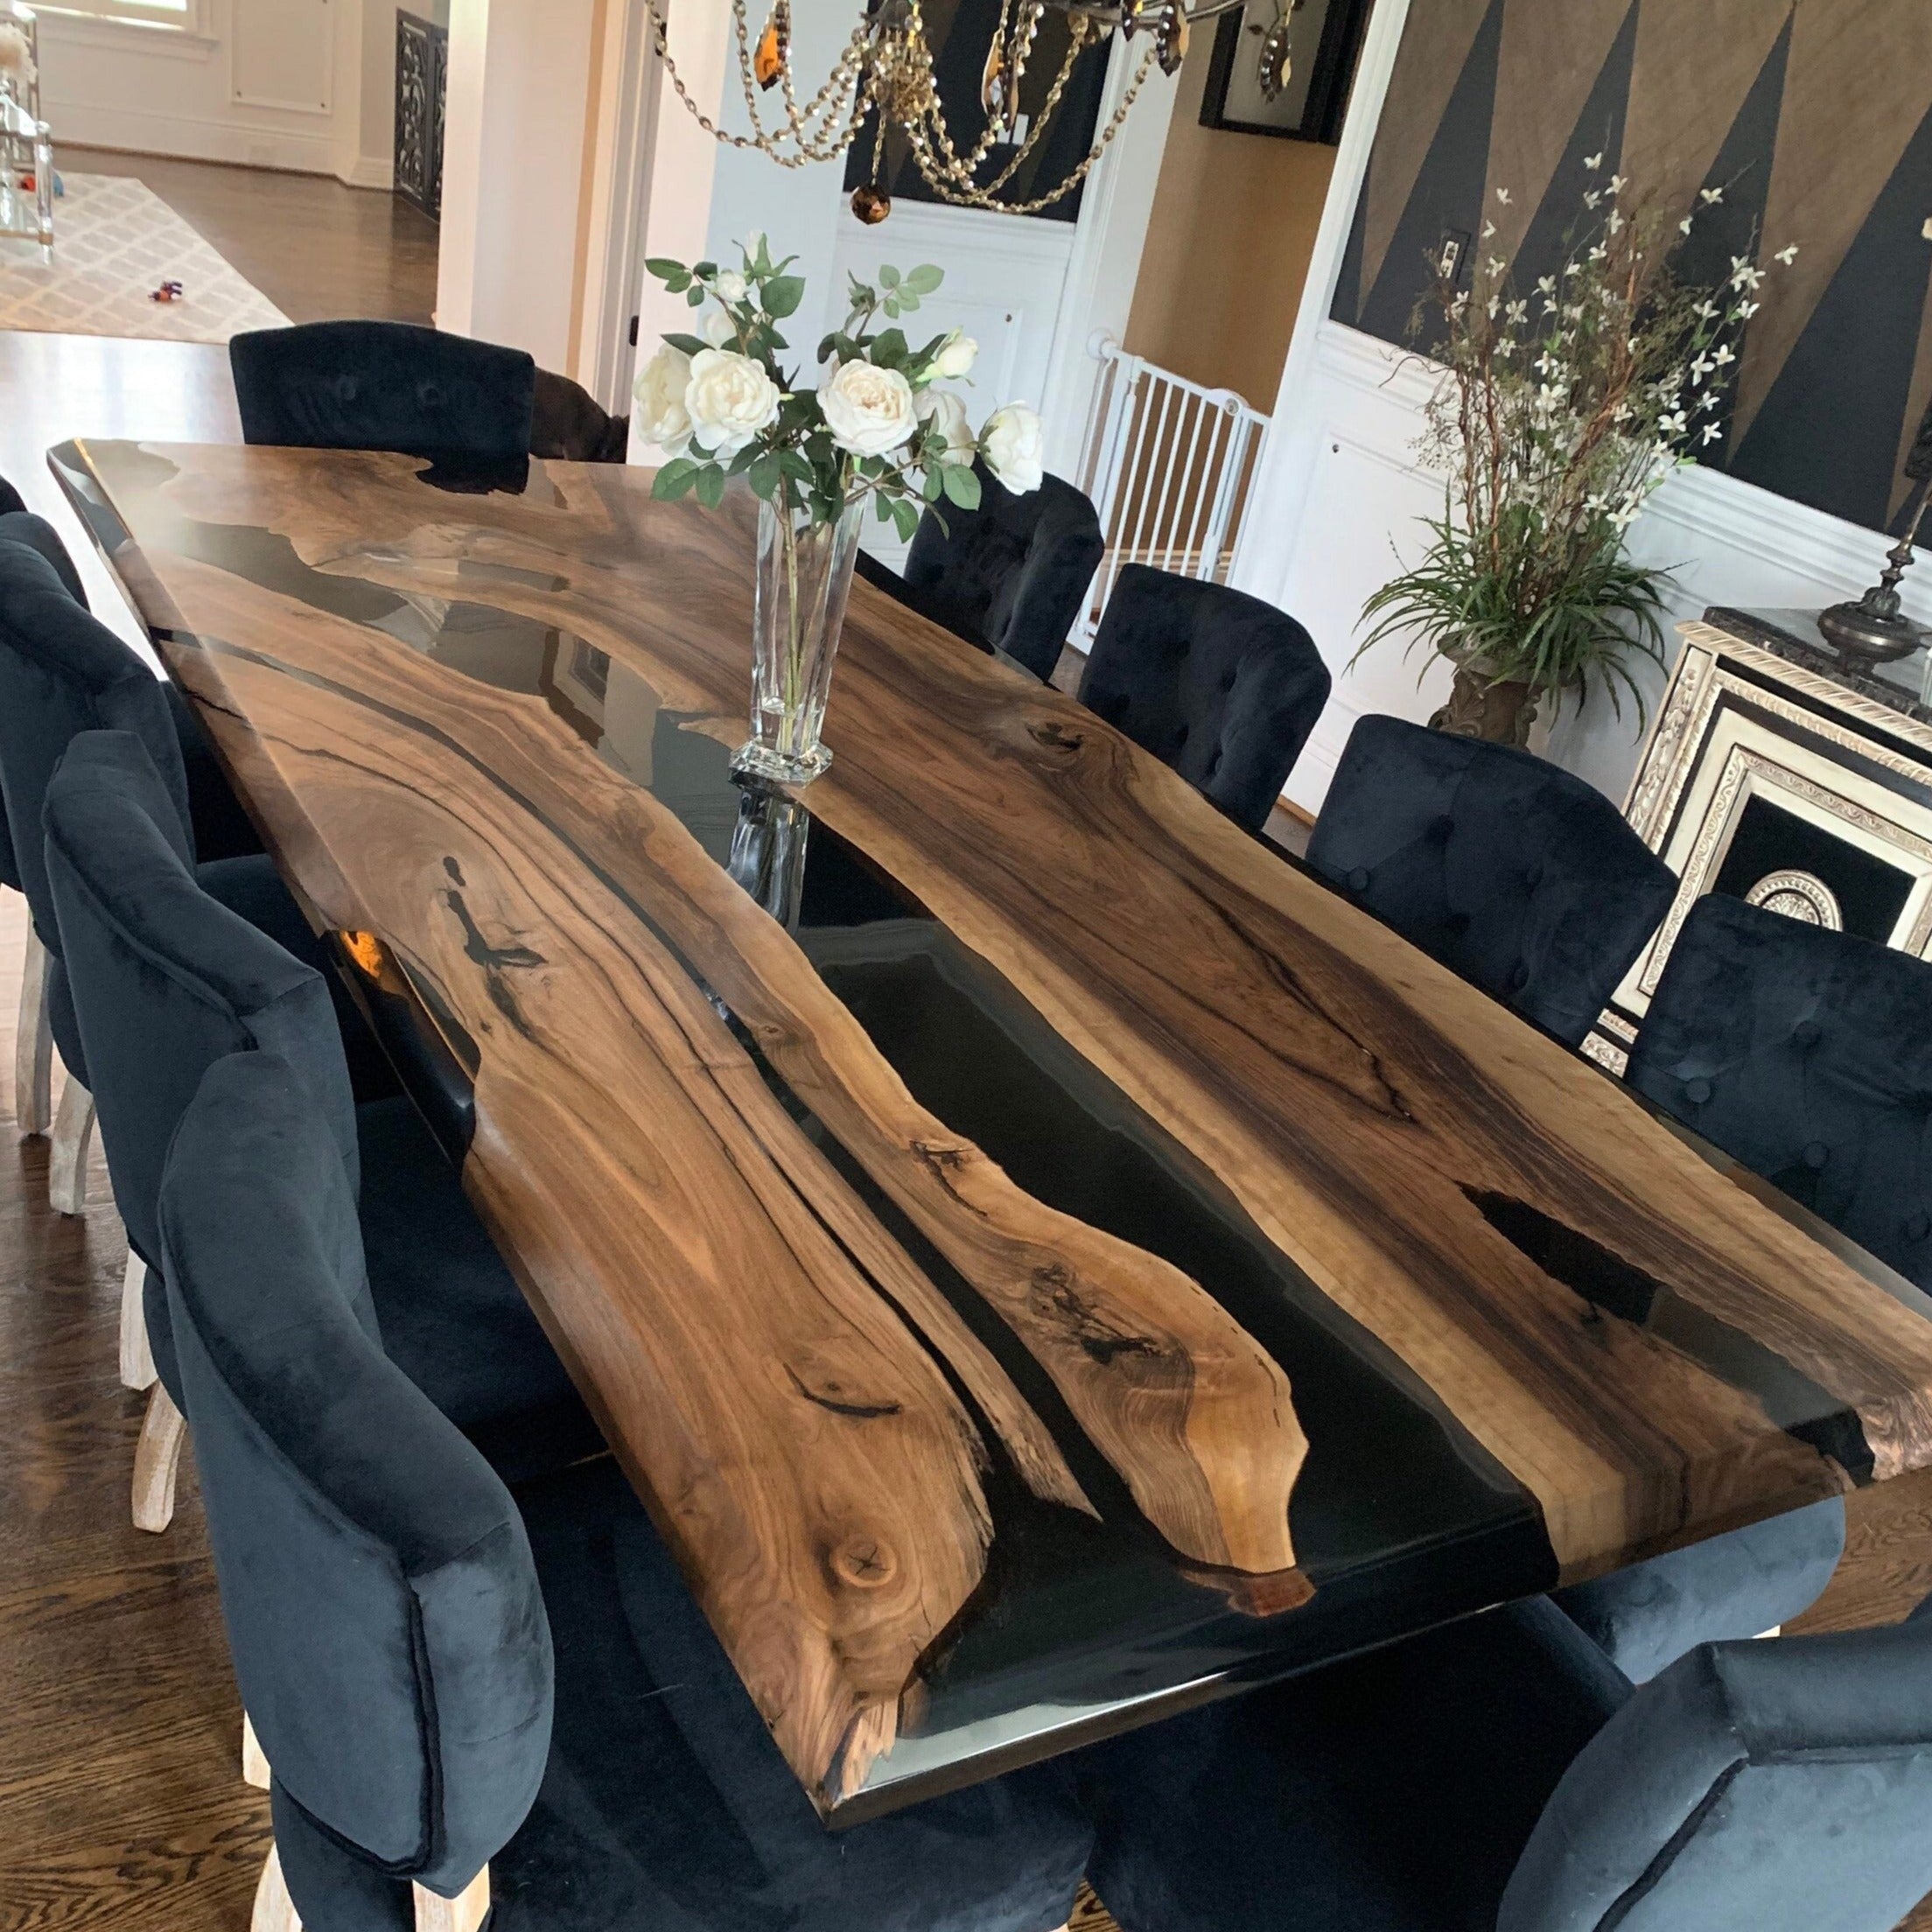
The completed table reflects the approved arrangement while preserving the natural character of the selected wood.
Ready to define your own layout? Start with the Design Your Own custom epoxy dining table page, then use this review sequence when your drawing and slab options arrive.