




Mastering resin pours comes down to three factors: temperature control, layering, and curing. This guide walks you through each stage so you can avoid common mistakes and achieve a flawless result.
1. Temperature Management
Temperature is arguably the most critical factor in epoxy pouring. Get it wrong, and even the highest-quality resin will fail to perform.
What Happens When It's Too Cold
Epoxy hates the cold. When temperatures drop below the recommended range:
Cold resin (below 70°F) becomes sluggish, doubles cure time per 18°F drop, and risks weak, tacky surfaces with poor adhesion.
A 58°F pour once failed entirely — now the shop stays at 70°F minimum.
What Happens When It's Too Hot
Excessive heat causes resin to cure too quickly (flash cure), leading to discoloration, brittleness, cracking, and trapped bubbles. Above 104°F (40°C), the resin may not solidify properly at all.
Practical Temperature Tips
- Keep workspace 65–70°F; monitor temps with thermometer.
- Warm cold resin in sealed containers (warm water, no flame).
- Avoid hot days/direct sun; cool workspace if too hot.
- If mold or containers feel hot, pause and let stabilize.

2. Multi-Layer Pouring: Building Depth Without Disaster
Deep-pour epoxy tables require multiple layers. You can't simply pour all the resin at once — the exothermic reaction would generate too much heat and ruin the piece.
Layer Pouring Best Practices
- Pour in layers of 1/2″ to 2″ depending on your resin type
- Allow each layer to partially cure before adding the next
- Monitor temperature between layers — if the mold gets hot, pause and let it stabilize
- For very large volumes (like 26 gallons/100L), maintain temperatures around 68–73°F (20–23°C) and keep resin below 104–113°F (40–45°C)

3. Curing Schedules: Patience Pays Off
Curing is the final — and most test — stage of the resin process. Rushing it is the #1 mistake that ruins otherwise perfect pours.
The Three Stages of Cure
Stage 1: Initial Set (2–6 hours)
The resin begins to harden but remains fragile. Don't touch it. Don't move it. Don't even look at it too hard.
Stage 2: Tack-Free / Functional Cure (6–24 hours)
Tack-free and handleable, but not fully cured. First layer cures in 12–24 hours at room temp.
Stage 3: Full Cure (3–14 days)
Full cure (maximum hardness, clarity, and durability) takes about 72 hours for most epoxies, though some systems require 7 days or more.

4. Common Pouring Mistakes to Avoid
Even experienced makers run into problems. Here are the most common issues and how to prevent them:
Bubbles
Bubbles come from over‑mixing, thick pours, or heat; prevent them by gentle mixing, thin layers, 72–77°F, and using a torch to pop bubbles — and if they appear, apply heat right away.
Cloudy or Milky Resin
Cloudy or milky resin is caused by moisture, over‑mixing, or incorrect ratios. Prevent it by working in low humidity (<40%), measuring precisely, and mixing gently but thoroughly.
Sticky or Uncured Spots
Prevent sticky/uncured spots: measure accurately, mix thoroughly for 3–5 minutes, and maintain proper workspace temperature. Causes: wrong ratio, cold, or incomplete mixing.
Overheating / Flash Cure
Thick pours, large batches, or high temps cause overheating. Follow depth limits, use small batches, work cool. If overheated, spread into wider container.
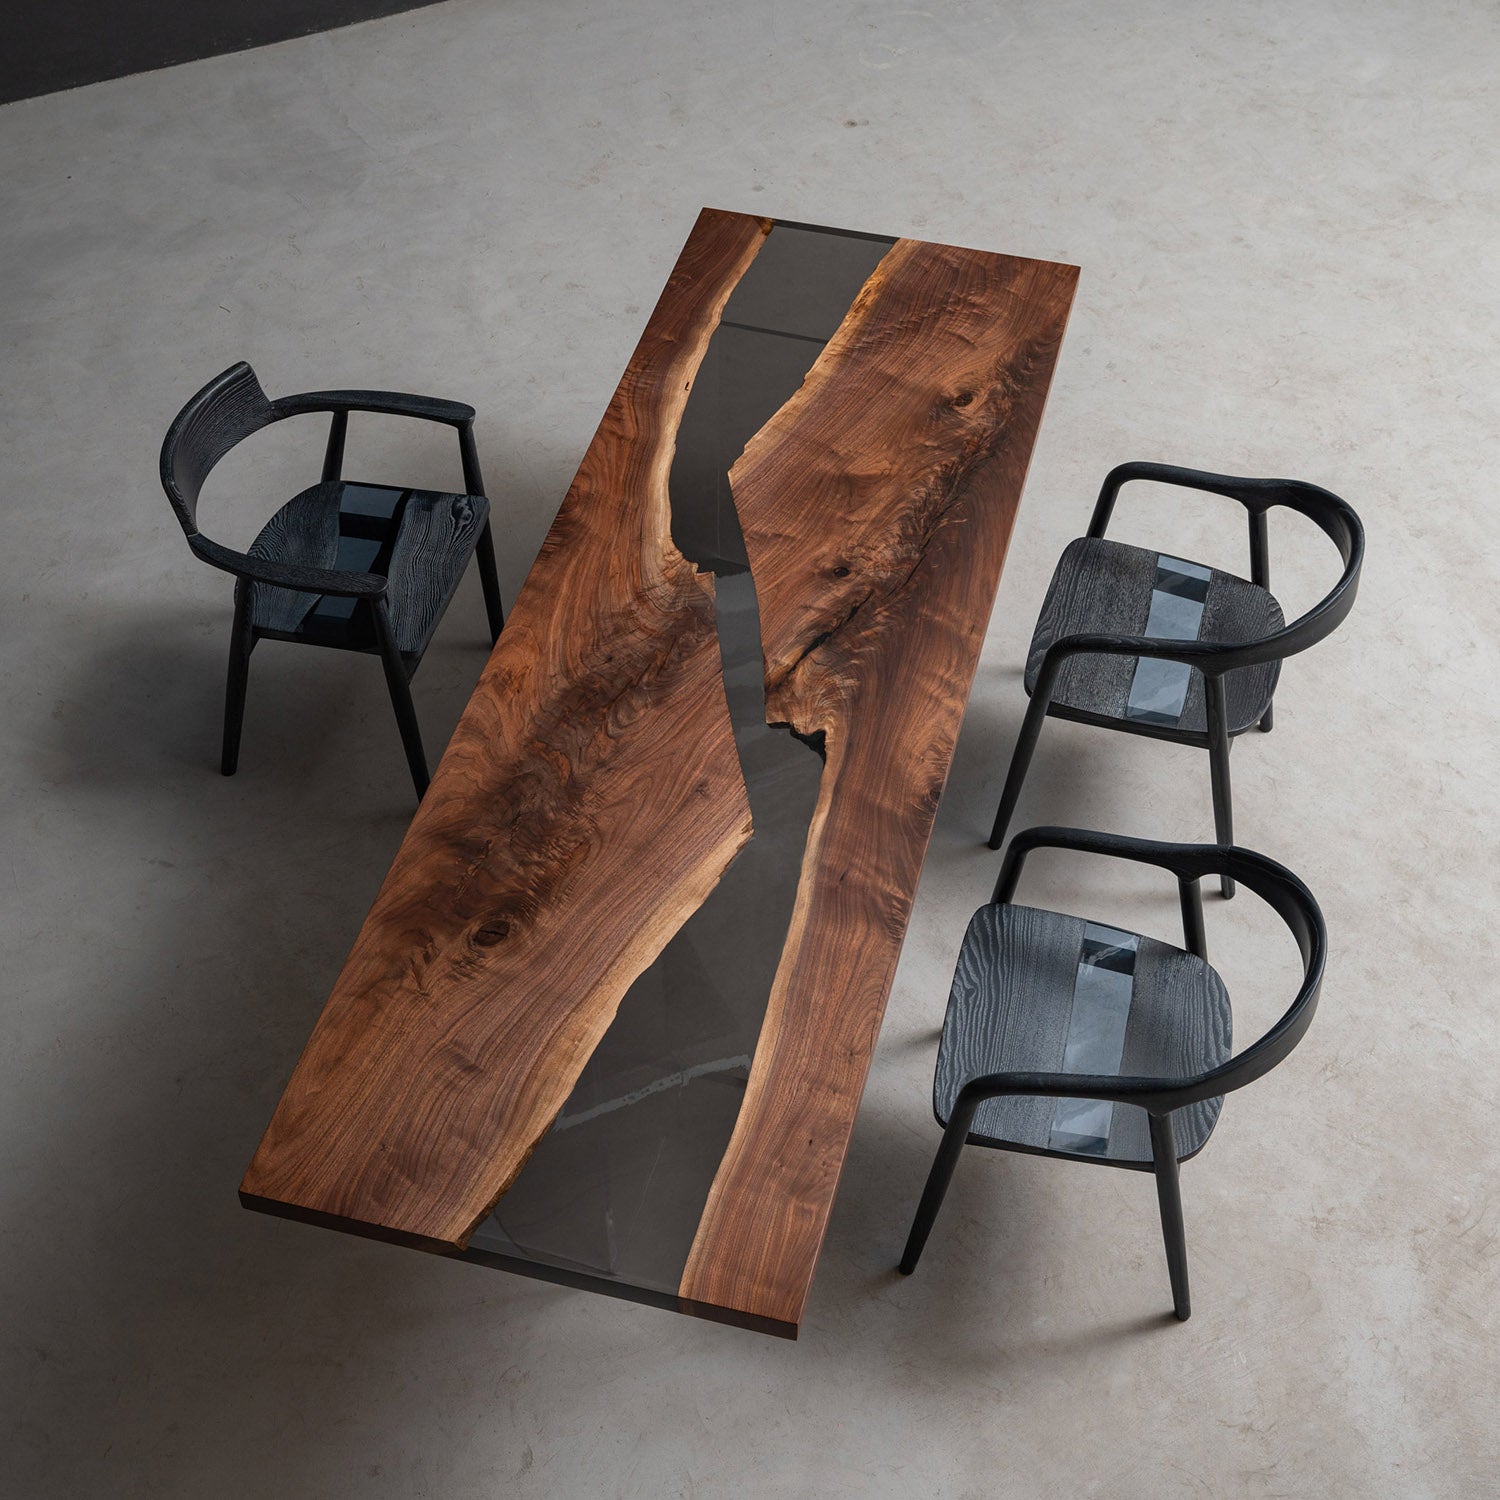
This guide will walk you through the custom design process and help you create the perfect epoxy resin table for your space.